Unleashing My Creative Flow for a Stunning Living Room Makeover
You may remember the cuff-top draperies and slipcovers I made for one of my favorite customers last summer. Well, she was so happy with the way her kitchen turned out that we almost immediately began planning the window treatments for her living room. It turned into a lengthy process, however, as we searched for just the right design.
The two-story-high windows offer views of a lake below and allow plenty of sunshine to brighten the interior spaces. The homeowners, of course, didn’t want to block either the view or the light. They also wanted to avoid using drapery panels in the design because they might seem too similar in size and visual weight to the tall columns that stand on either side of the fireplace.
Exploring a Variety of Styles
Here’s an inside look into the process I went through in designing the custom window treatments for this expansive wall of windows. I began by importing a photograph of the client’s room into my design program on the computer. Designing on a photo is a great way to visualize how various styles might look on the actual window.
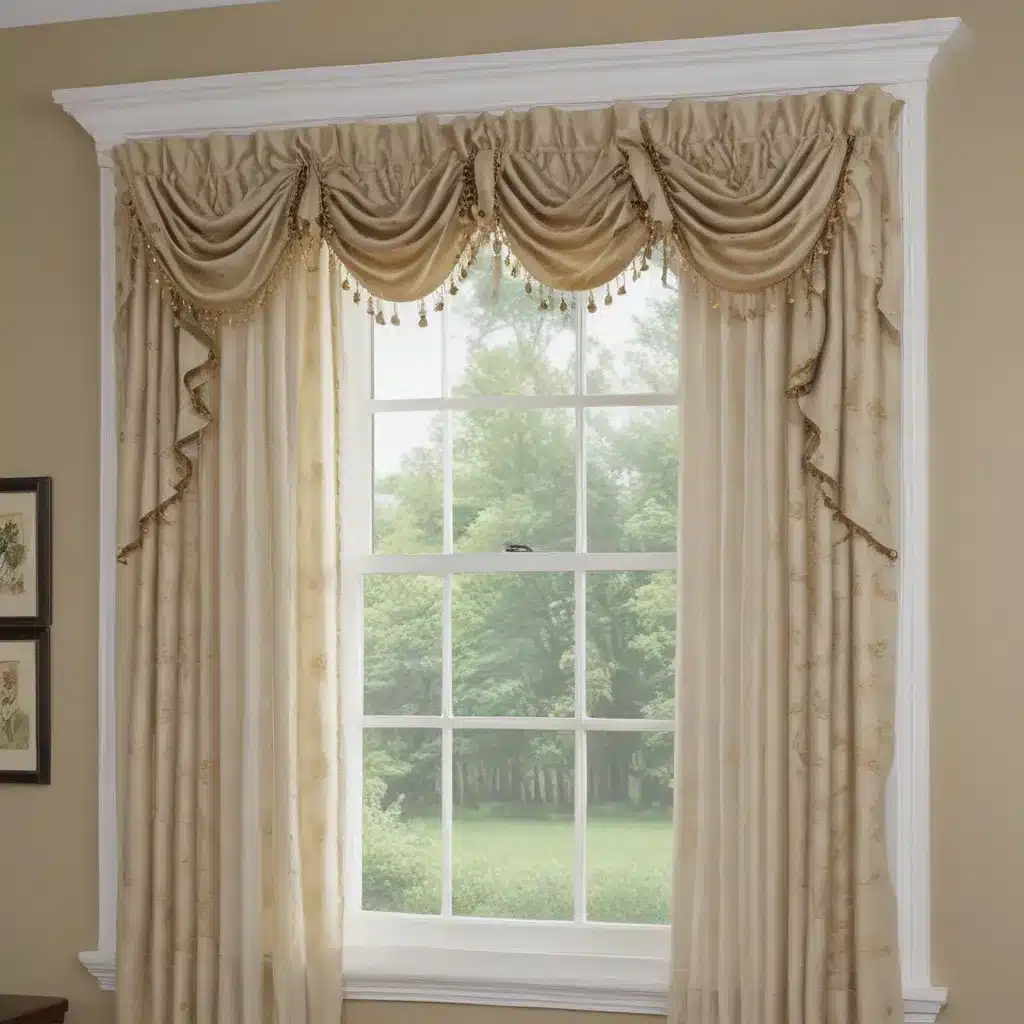
Swags seemed like a natural for this window configuration. Style 1 below features raised swags, swags that are pulled up higher on one side, hung from custom wrought iron hardware. They help to soften the sharp angles of all those windows but don’t obstruct the light or the view.
In Style 2, I layered a contrasting fabric under the first one. Next, I thought I’d see how the same style would look with sheer or semi-sheer lightweight fabrics. I also changed out the hardware, using a chunky rod with finials for the top of the arch and large holdbacks for the upper windows.
Experimenting with Different Designs
In Style 4, I simplified the treatment again by removing the underlayer, then treated the lower windows with swags and cascades of their own. Style 5 is a more formal version of the earlier designs. The pleated jabots and cascades give it an elegant, refined look.
Taking a different tack with Style 6, I thought I’d see how cornices would look on the upper windows. Their interesting curves act as a frame for the sky outside. Simple rectangular cornices on the lower windows repeat the color and texture of the ones above. Gathered sheer panels add a touch of softness and are pulled to the side to keep things open and light.
For the center arch, I suggested using an insert of Tableaux faux wrought iron, custom-made to perfectly fit the window. In Style 7 below, I removed the lower cornices and added softly draped swags to the upper ones.
Finding the Perfect Design
Unfortunately, none of the above designs struck my clients as being just right, so we put things on hold for a while. Weeks passed, and it was driving me crazy that I hadn’t come up with anything new for them. I wanted to design something that would make their hearts sing. Finally, I thought I would just try something completely different – drapery panels.
We had ruled them out at the beginning, but maybe we had been a little too hasty. It wouldn’t hurt to give it a try. I drew up one panel design – only one – and emailed it off to them. A few hours later, I held my breath as I clicked to open their reply. “We LOVE it!” were the first words I saw, and all I needed to know. The design work was done; now, on to the fabrication.
Stay tuned for the fabulous finish to all this planning. I can’t wait to share the final result with you! If you’re in the Philadelphia area and need custom window treatments, be sure to check out Home Curtains Philadelphia. Their team of experts can help you create the perfect window treatments, just like the ones I designed for my clients.


