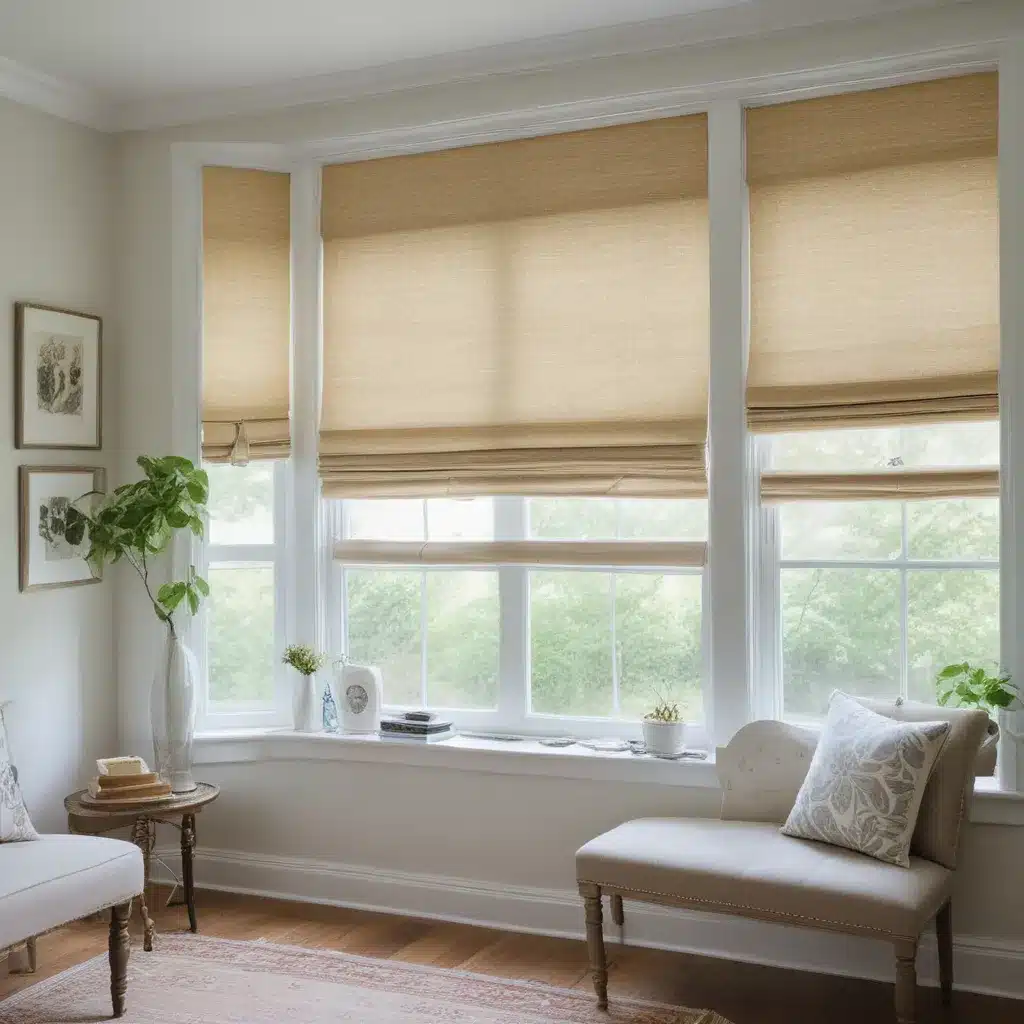
Turning Intimidation into Triumph: My DIY Roman Shade Adventure
Do you ever find yourself fixating on one thing, no matter how small, that just bugs you to no end? That’s exactly how I felt about the blinds on the bay windows in my Philadelphia home. They were simply too large for the space, but the idea of replacing them had me feeling a little intimidated. That is, until I stumbled upon a tutorial that would allow me to create my own custom Roman shades – a project that would not only solve my window woes but also teach me some valuable new skills along the way.
Embracing the Challenge
As I began my kitchen refresh journey, I knew the blinds had to go. I had spent countless hours scrolling through Pinterest, searching for the perfect window treatment that would fit my bay windows just right. That’s when I came across a post by The DIY Mommy detailing how to sew your own Roman shades. The idea both excited and scared me a little, but I knew this was my chance to tackle a new skill. After all, sometimes the most rewarding projects are the ones that push us outside our comfort zones.
Measuring and Cutting for a Custom Fit
The first step was getting the measurements just right. I carefully calculated the width of each window and the angles of the bay corners, using a digital angle finder to ensure a seamless fit. With my measurements in hand, I set to work cutting the fabric and lining, creating the dowel casings, and prepping the wooden pieces. One of the trickier parts was figuring out the exact angle to cut the wood so that it would come together perfectly in the corners. But with a little trial and error, I got the hang of it and was able to create a custom frame that hugged the bay windows beautifully.
The Tedious (But Rewarding) Task of Threading and Sewing
As I dove into the sewing portion of the project, I’ll admit, there were moments when I questioned my decision. Carefully hand-sewing the plastic shade rings onto each dowel casing was a time-consuming and meticulous process. But with some patience and determination, I pushed through, taking joy in the steady progress I was making. By the time I had the shades fully assembled and ready to hang, I felt an immense sense of pride in what I had accomplished.
The Final Reveal: A Tailored, Custom Look
When it came time to install the Roman shades, I was giddy with anticipation. Watching them come together seamlessly with the bay windows was incredibly satisfying. The navy blue fabric I had chosen complemented the Seawall paint in my kitchen nook beautifully, creating a cohesive, custom look. Sure, they weren’t perfect, but they were mine – a product of my own hard work and newfound sewing skills.
Saving a Bundle with DIY
One of the best parts about this project was the cost savings. A quick online search showed that custom Roman shades can cost upwards of $100 per window. By taking on the DIY route, I was able to create my dream window treatments for around $70 total. While the process was time-consuming, I’m confident that with a bit more sewing experience under my belt, any future DIY Roman shade projects would go much more smoothly.
Embracing the Imperfections
As I step back and admire my handmade Roman shades, I can’t help but smile. They may not be flawless, but they’re a reflection of my journey – from intimidation to triumph. The imperfections serve as a reminder that growth and learning don’t have to be picture-perfect. Sometimes, the most rewarding experiences come from embracing the challenges head-on and finding joy in the process.
If you’re considering tackling your own DIY Roman shade project, I encourage you to go for it! It may seem daunting at first, but with a little determination and some helpful tutorials, you can create custom window treatments that perfectly fit your space and your style. And who knows, you might just discover a new skill (or two) along the way. Ready to refresh your windows? Head over to Home Curtains Philadelphia to get started!


