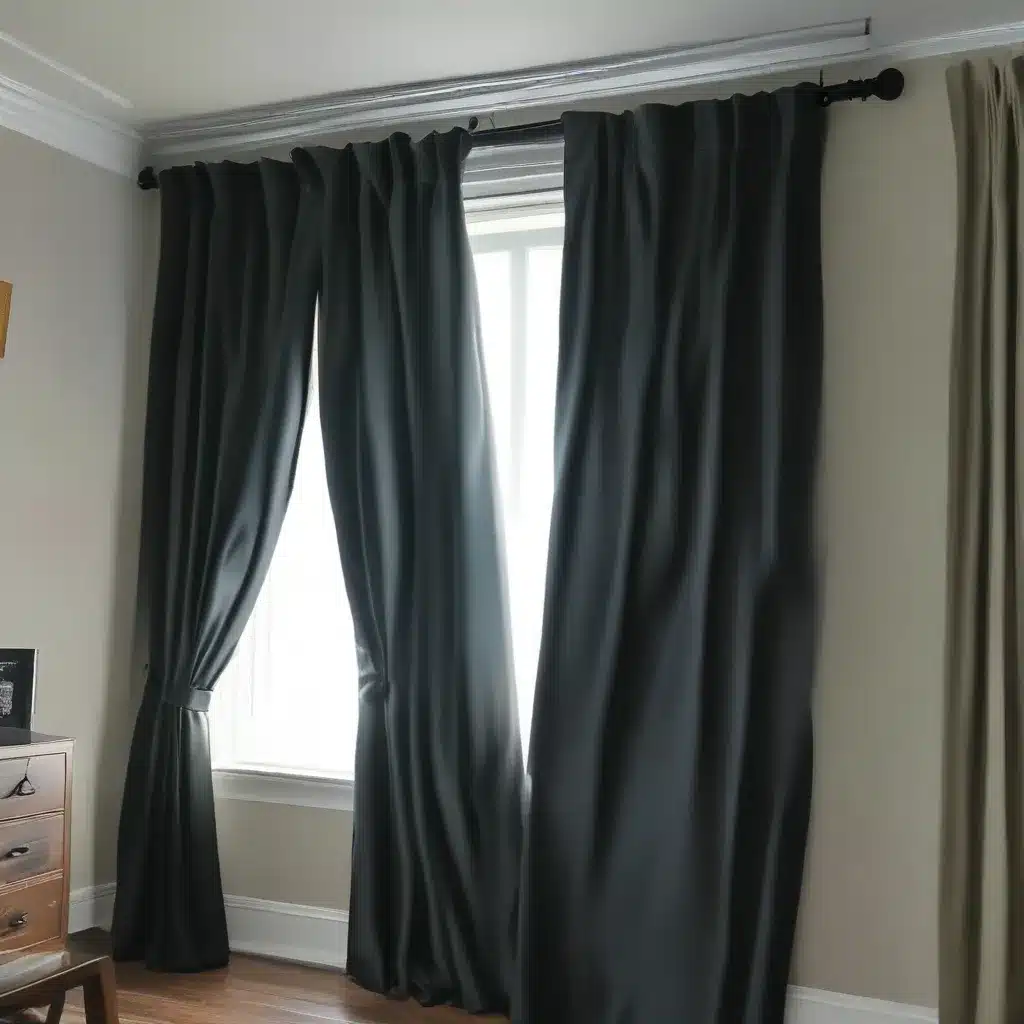
The Lazy Mom’s Trick to Getting More Sleep
I’ll admit it – I’m a sleep-deprived mom. With a baby at home and a toddler who’s convinced the sun never sets, getting a decent night’s rest is about as elusive as a unicorn sighting. That is, until I discovered the magical world of DIY blackout curtains. Trust me, these aren’t your average curtains – they’re the secret weapon in my battle against insomnia and unwanted sunrise wake-up calls.
From Faux Wood Blinds to Pitch-Black Paradise
Remember those faux wood blinds I had in my little one’s room? They were alright, I guess, but they just weren’t cutting it when it came to blocking out the sun. I mean, who wants to be jolted awake by the crack of dawn when you’re still trying to squeeze in that last precious REM cycle? Not this mama, that’s for sure.
So, I hopped in my car and high-tailed it to the nearest custom window treatments shop in Philadelphia. After a quick browse, I landed on the perfect solution – blackout fabric. It was like the heavens had opened up and bestowed upon me the gift of uninterrupted slumber.
The Easiest DIY Blackout Curtains Ever
Now, I know what you’re thinking – “Blackout curtains? That sounds expensive and complicated.” But let me tell you, these DIY beauties are anything but. In fact, they’re one of the easiest home decor projects I’ve ever tackled. And the best part? They cost me a grand total of $15!
Here’s how it went down:
- I grabbed 5.5 yards of blackout fabric from the local craft store (with a handy 50% off coupon, no less).
- Measured the window frame and cut the fabric to size, leaving a few extra inches on each side for hemming.
- Folded the edges over and used some good ol’ double-sided tape to create a clean, finished look.
- Hung the curtains up using tension rods – no drilling or complicated hardware required.
And just like that, my bedroom was transformed into a pitch-black oasis, perfect for catching those much-needed z’s.
The Benefits of Blackout Bliss
Now, I know what you’re thinking – “But won’t it be too dark?” Well, let me tell you, that’s exactly the point! These blackout curtains are the ultimate sleep hack, blocking out every last ray of sunshine and creating the perfect environment for uninterrupted slumber.
Studies have shown that exposure to light during sleep can disrupt our natural circadian rhythms, leading to poor sleep quality and daytime fatigue. But with my DIY blackout curtains, I can bid farewell to those restless nights and hello to blissful, uninterrupted sleep.
And the benefits don’t stop there. These curtains also work wonders for keeping the room cool and cozy, helping to regulate the temperature and reduce energy costs. No more sweating it out in the middle of the night or shivering under the covers – just pure, unadulterated comfort.
The Lazy Mom’s Hack for a Good Night’s Sleep
So, there you have it – the lazy mom’s trick to getting more sleep. These DIY blackout curtains are the ultimate solution for anyone struggling with early wake-ups, poor sleep quality, or just a general lack of shut-eye. And the best part? They’re easy, inexpensive, and guaranteed to transform your bedroom into a sleep sanctuary.
Trust me, once you experience the magic of blackout bliss, you’ll wonder how you ever survived without it. So, what are you waiting for? Grab some blackout fabric, a roll of double-sided tape, and get ready to kiss those early-morning wake-up calls goodbye. Sweet dreams, my fellow sleep-deprived parents!


