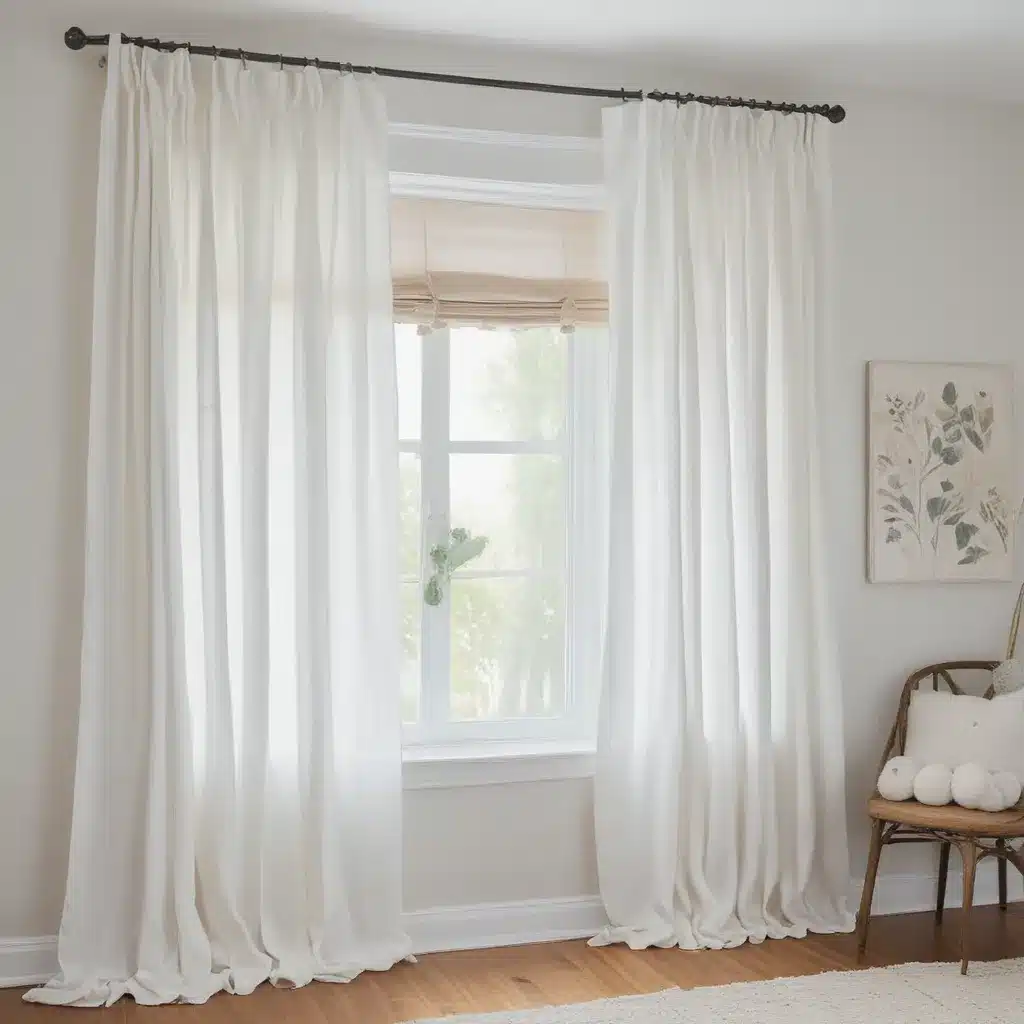
A Curtain Conundrum and the Pom Pom Solution
You know that feeling when you walk into a room and it just doesn’t feel right? That’s exactly how I felt when I looked at the curtains in my daughter Monica’s bedroom. They were too heavy, didn’t block the light well, and most importantly, weren’t the vibrant orange hue I had envisioned. As a busy mom of two, I didn’t have the time or energy to sew custom curtains from scratch, but I certainly didn’t want to break the bank buying expensive pre-made panels.
Luckily, inspiration struck when I stumbled upon those dreamy Pottery Barn Kids pom pom sheer curtains and the PBteen pom pom blackout drapes. I knew I had to recreate that look, but on a budget-friendly DIY scale. And so, my mission to craft chic pom pom curtains for Monica’s room began.
Bringing the Pom Pom Vision to Life
I started by taking a trip to IKEA and snagging a pair of their Vivan curtain panels. They were the perfect blank canvas for my pom pom masterpiece. After a quick prewash, hemming, and ironing, I was ready to add the pièce de résistance – the pom poms!
Now, I’ll admit, sewing those fluffy little trims onto the curtains was no easy feat. It required a steady hand, a lot of patience, and perhaps a few choice words muttered under my breath. But let me tell you, the end result was so worth it. Those pops of orange pom poms instantly brought a playful, whimsical vibe to Monica’s room, perfectly complementing her beloved “bear chair” from The Land of Nod.
And the best part? These curtains aren’t just stylish – they’re also incredibly functional. With the addition of a curtain lining, they effectively block out unwanted light, ensuring Monica gets the restful naps and uninterrupted sleep she needs.
Customizing Curtains with a Pom Pom Twist
If you’re feeling inspired to create your own chic DIY curtains with pom poms, here’s a step-by-step guide to get you started:
-
Gather Your Materials: You’ll need curtain panels (I used IKEA’s Vivan), pom pom trim, curtain lining, and basic sewing supplies like needles, thread, and pins.
-
Prep the Curtains: Prewash, dry, and iron your curtain panels. Hem them if needed to achieve the desired length.
-
Add the Lining: Pin the curtain lining to the top of the curtain panel, slightly overlapping the bottom of the tabs and rod pocket. Sew the lining to the panel, ideally along the same seam as the bottom of the rod pocket.
-
Attach the Pom Poms: Pin the pom pom trim to the curtain panel, making sure the poms are peeking out. Sew the trim onto the panel, hand-stitching the trim onto the rod pocket section to keep the pocket open.
-
Hang and Enjoy: Hang your new pom pom curtains and get ready to enjoy a good night’s sleep or a restful nap, thanks to the blackout lining.
The whole process may seem a bit daunting, but trust me, the end result is so worth it. Plus, the satisfaction of creating something unique and personalized for your home is unbeatable.
Curtain Creativity on a Budget
Now, you might be wondering, “How much did this DIY pom pom curtain project cost?” Well, I’ll break it down for you:
| Item | Cost |
|---|---|
| IKEA Vivan Curtain Panels (2) | $29.98 |
| Pom Pom Trim | $7.99 |
| Curtain Lining | $9.99 |
| Total | $47.96 |
Compared to the $59+ price tag for similar curtains at Pottery Barn Kids or PBteen, my DIY version came in at less than half the cost. And the best part? I got to infuse my own personal style and flair into the final product.
So, if you’re looking to upgrade your window treatments without breaking the bank, I highly recommend giving this chic DIY pom pom curtain project a try. It’s a fun, creative way to transform your space and add a touch of whimsy to any room.
And who knows, maybe your curtain conundrum will lead you down a similarly pom pom-filled path. After all, as the saying goes, “When life gives you lemons, make lemonade” – or in this case, when life gives you plain curtains, make them fabulous with pom poms!
If you’re ready to take on your own DIY curtain project, be sure to visit Home Curtains Philadelphia for all your custom window treatment needs. Happy crafting!


