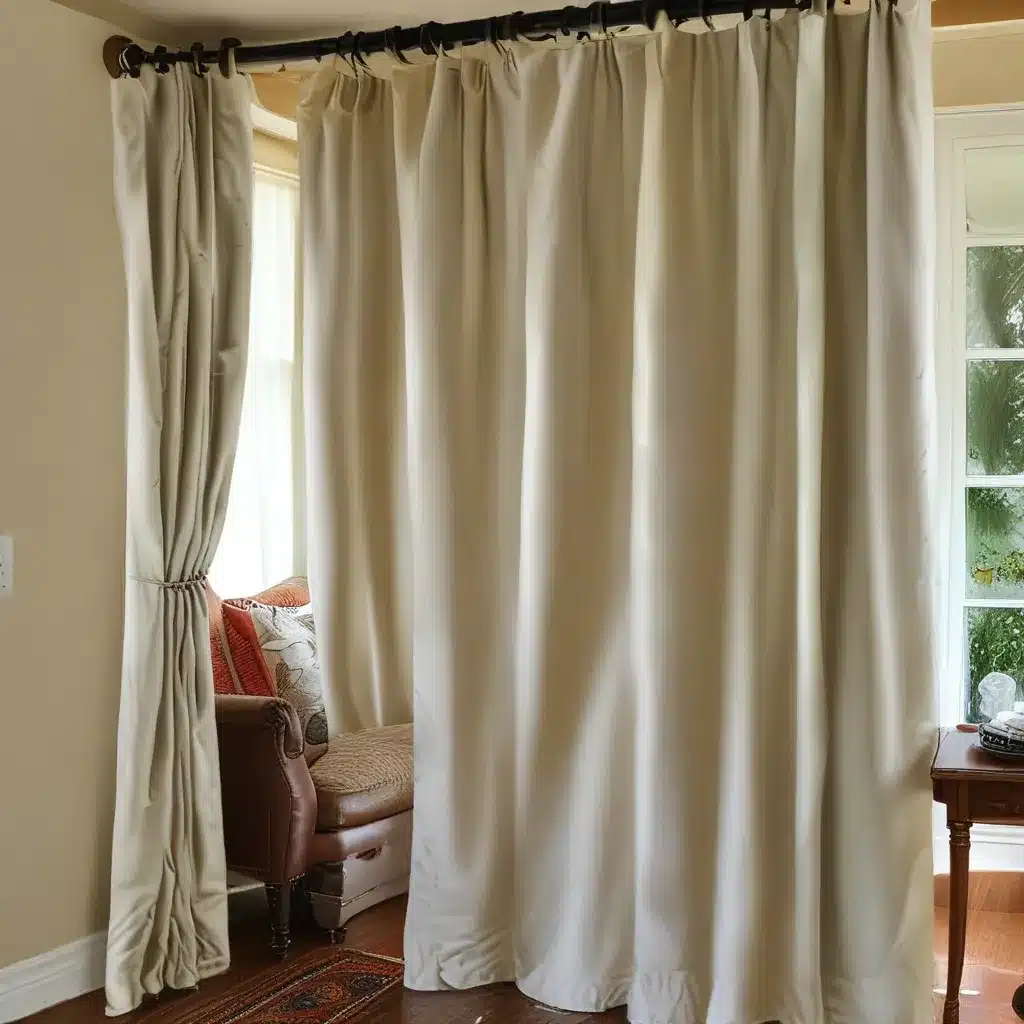
Keeping the Cold Out and the Warmth In
As a Philadelphia native, I’ve weathered my fair share of bitterly cold winters. Growing up in a historic row home, I learned early on that drafty windows and poor insulation can make a house feel more like an icebox than a cozy haven. That’s why I’m excited to share my tried-and-true tips for transforming any drafty space into a toasty retreat – all through the magic of insulated curtains!
The Struggle is Real
My first apartment after college was a real doozy when it came to winter woes. The landlord had installed these sad excuse for “windows” – single-pane aluminum frames that may as well have been made of tissue paper. The moment the temperature dipped, I could feel the chill seeping in, despite having the heat cranked. And don’t even get me started on the utility bills! I was burning through my meager paycheck just to keep from turning into a popsicle.
Desperate for relief, I scoured the internet for affordable solutions. That’s when I stumbled upon the world of insulated curtains. At first, I was skeptical – how could some fancy drapes make that much of a difference? But after taking the plunge and installing them myself, I was a total convert. The difference was night and day! Gone were the drafts, the sky-high heating costs, and the constant shivering. Instead, I finally had a cozy, comfortable space to call home.
A Curtain Call for Cozy
Fast forward a few years, and I’m now the proud owner of a charming (but still drafty) row home in the heart of Philly. While I’ve made various upgrades over time, insulated curtains remain one of my favorite weapons in the war against winter. Not only do they provide an essential extra layer of insulation, but they also add a touch of style and personality to any room.
Home Curtains Philadelphia has become my go-to source for all things window-related. Their selection of custom-made insulated curtains is truly impressive, with endless color and fabric options to suit any decor. And the best part? They offer professional installation, so you don’t have to wrestle with those heavy panels yourself.
DIY Insulated Curtains: A Step-by-Step Guide
Of course, if you’re the crafty type (or on a tight budget), you can absolutely tackle this project yourself. Here’s a step-by-step guide to creating your own insulated curtains:
Gather Your Supplies
- Curtain fabric of your choice (aim for a heavier, insulating material like velvet or wool)
- Lining fabric (blackout or thermal lining works best)
- Sewing machine and thread
- Scissors, pins, and measuring tape
Measure and Cut
- Measure your window frame, including the width and length you want your curtains to cover.
- Add 6-8 inches to the width and 12 inches to the length to account for hems and pleats.
- Cut your curtain fabric and lining to these dimensions.
Sew It Up
- Lay the curtain fabric and lining right sides together.
- Stitch around the perimeter, leaving a 4-inch opening on one side.
- Trim the corners and turn the curtain right side out through the opening.
- Press the edges to create a crisp, clean look.
- Topstitch around the entire panel, closing the opening as you go.
- Add pleats or other decorative touches as desired.
Hang and Enjoy
- Install your new insulated curtains using the appropriate hardware for your windows.
- Make sure to overlap the panels at the center for maximum draft-blocking power.
- Sit back, relax, and feel the toasty warmth envelop your space!
Insider Tips and Tricks
Of course, insulated curtains are just one piece of the cozy home puzzle. Here are a few additional tips I’ve picked up along the way:
- Layer your window treatments for even better insulation. Try hanging sheer curtains or blinds under your insulated panels.
- Use a portable space heater to target chilly areas, but be cautious of placement, especially around bathrooms.
- Reverse the direction of your ceiling fan to push warm air down into the room.
- Embrace the power of the sun! Open curtains during the day to let that natural heat in, then close them at night to trap it.
With a little creativity and elbow grease, you can transform any drafty home into a cozy oasis, no matter the winter weather. So, what are you waiting for? Grab your sewing machine and get to work on those insulated curtains!


