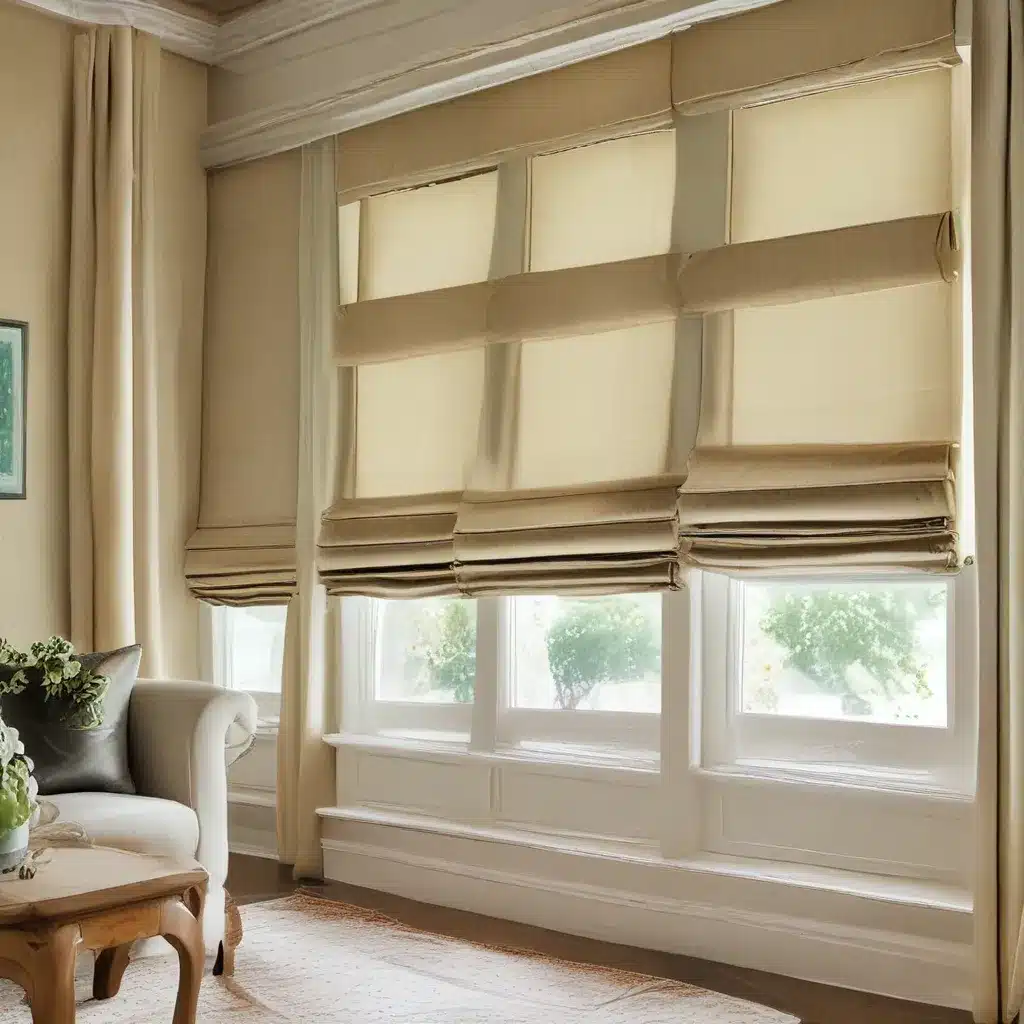
The Beauty of Homemade Roman Shades
As a self-proclaimed DIY enthusiast, I’ve always been drawn to projects that allow me to infuse my personal style into my home. And when it comes to window treatments, sewing your own Roman shades is the ultimate way to achieve that custom, tailored look you crave.
I remember the first time I decided to tackle this project for our guest cottage kitchen. I was browsing through fabrics online, completely captivated by the idea of creating something truly unique. And let me tell you, the final result was nothing short of stunning – a gorgeous floral print that perfectly complemented the cozy, farmhouse vibe of the space.
But the best part? It wasn’t nearly as difficult as I had anticipated. In fact, with a little bit of time and effort, anyone with a sewing machine can master the art of DIY Roman shades. And trust me, the sense of pride and accomplishment you’ll feel when you step back and admire your handiwork is truly unparalleled.
Gathering Your Supplies
Before we dive into the step-by-step instructions, let’s make sure you have everything you need to get started. The great thing about this project is that the required materials are relatively simple and inexpensive.
Here’s what you’ll need:
- Fabric (make sure to get enough for 2 inches wider than your window and 7 inches longer)
- Sewing machine
- Thread
- Scissors
- Ruler
- Pins
- Dowels (the number will depend on the height of your window)
- Blind rings
- Eye screws
- Wood board (for mounting)
- Nylon string
Once you’ve gathered all your supplies, it’s time to get to work!
Measuring and Cutting
The first step is to take accurate measurements of your window. This is crucial, as it will determine the size of your fabric and the placement of your dowels.
Start by deciding whether you want an outside or inside mount for your Roman shade. This will affect your width measurement – for an outside mount, you’ll want to add 2 inches to the width, while an inside mount should be the exact window width.
As for the length, you’ll need to add 7 inches to your desired shade height. This will give you enough fabric to create the bottom hem and the dowel pockets.
Now it’s time to cut your fabric. Remember, you want it to be 2 inches wider and 7 inches longer than your final desired size. This will ensure a perfect fit and a professional-looking finish.
Sewing the Shade
Okay, let’s get sewing! Start by creating a 1/2-inch seam allowance on the sides and bottom of your fabric. Fold the edges over, press, and sew them down.
Next, it’s time to create the dowel pockets. Measure the remaining height of your fabric (after subtracting 3 inches for the wood board) and divide it by 4. This will give you the spacing for your dowel pockets.
Mark the spots where the dowel pockets will be, then fold and pin the fabric at each mark. Sew a 1/2-inch seam to create the pockets, and insert your dowels.
Now, it’s time to sew on the blind rings. Stitch one ring on each side of each dowel pocket, about 3 inches from the ends. These will be the key to raising and lowering your shade.
Mounting and Stringing
If you’re doing an outside mount, this is the time to screw on your mounting brackets about 1 inch from each end of the wood board. For an inside mount, you can skip this step.
Regardless of your mounting style, you’ll need to screw in the eye screws about 3 inches from each end of the board. These will be the guides for your nylon strings.
Now, it’s time to wrap the fabric around the wood board and secure it with staples. Make sure to wrap it tightly and evenly.
Finally, it’s time to string it all together. Follow the pattern of threading the nylon string through the blind rings, up and over the eye screws, and back down. Secure the ends with sturdy knots, and you’re ready to hang your brand-new Roman shade!
The Finishing Touches
With your shade now installed, all that’s left is to add the finishing touches. Install a hook or screw at the bottom of your window to hold the excess string, and wrap it around to keep your shade in the desired position.
And voila! You’ve just created a stunning, custom window treatment that’s sure to impress. Not only is it beautifully functional, but it’s also a true reflection of your personal style.
Isn’t it incredible what a little fabric and some basic sewing skills can achieve? If you’re anything like me, you’ll be tempted to make Roman shades for every room in your home. And why not? With Home Curtains Philadelphia as your one-stop-shop for all the materials you need, the possibilities are endless.
So, what are you waiting for? Gather your supplies, dive into this DIY project, and get ready to transform your space with the perfect, personalized Roman shades. Trust me, the sense of accomplishment you’ll feel will be worth every stitch.


