Stitching? Who Needs It?
As a lifelong DIYer, I’ve never been one to shy away from a challenge. But when it comes to home projects, I’ll admit that I sometimes prefer the path of least resistance. After all, why slave over a sewing machine when you can achieve a professional, custom look with just a few simple tools and a little creativity?
That’s exactly the mindset I had in mind when I set out to transform the master bedroom at our latest flip house. The space needed a little je ne sais quoi to tie it all together, and I knew the perfect solution lay in creating a custom bed skirt. But as anyone who’s shopped for bed skirts knows, the options are either way too expensive or just plain underwhelming.
No-Sew Bed Skirt to the Rescue
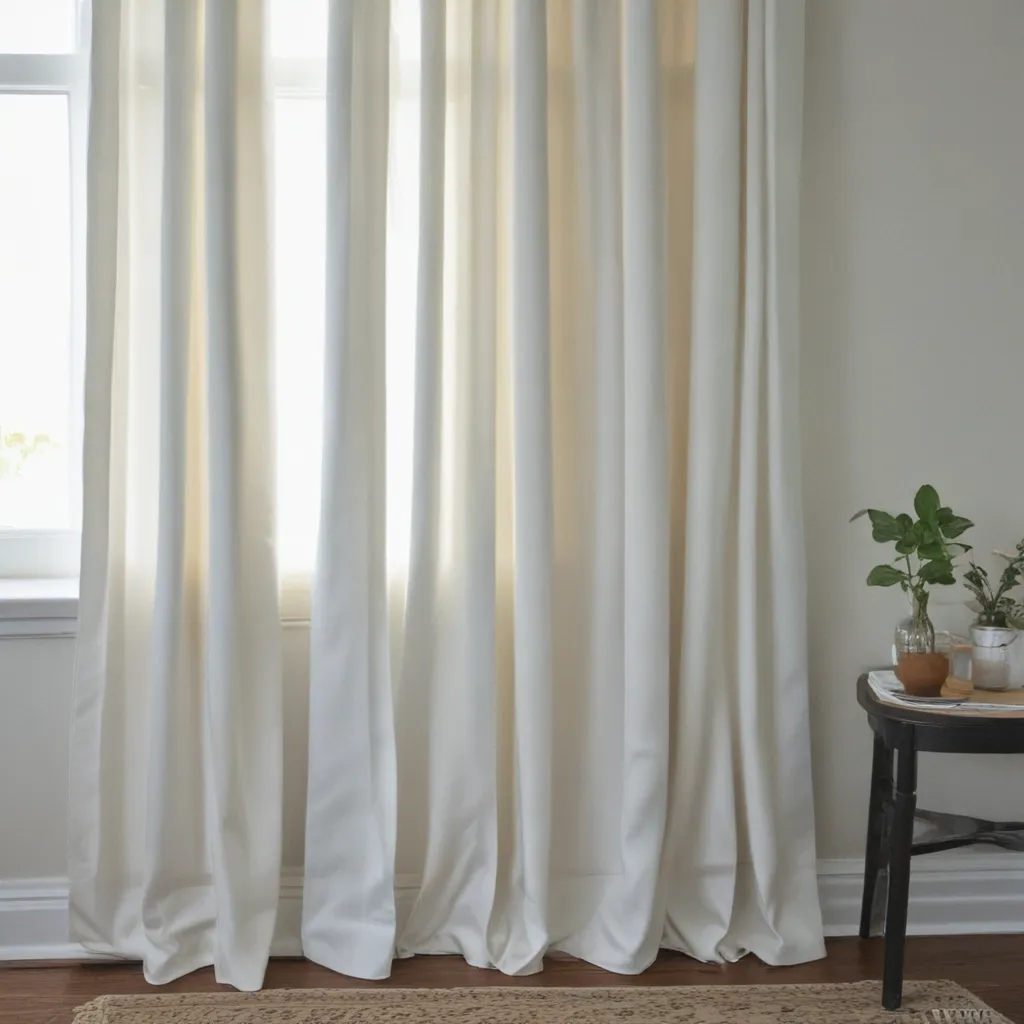
One day, as I was browsing the aisles of my local Spotlight (the Australian version of a home goods store, for all my stateside friends), I stumbled upon the perfect solution: a pair of gorgeous, inexpensive curtain panels. Now, I know what you’re thinking – curtains on the bed? But hear me out. These babies were the perfect width and length to create a custom-looking bed skirt, and the best part? No sewing required.
I’ll admit, I did end up using a bit more fabric than necessary, but that just gave me some wiggle room to play around. And let’s be real, when you’re working on a flip house, time and efficiency are of the essence. So, I grabbed those curtain panels, headed home, and got to work.
Stapling My Way to Perfection
Now, I know what you might be thinking – stapling fabric to your bed frame? Isn’t that a bit…unconventional? Well, let me tell you, this method is not only quick and easy, but it also delivers a surprisingly polished, high-end look. And let’s be honest, most upholstered furniture pieces don’t exactly have removable fabric covers, so why should your bed skirt be any different?
The process was simple: I started by trimming the curtain panels to size, creating a series of panels to fit snugly around the bed frame. Then, it was just a matter of strategically placing and stapling each piece in place. Sure, I could have gone the route of velcro or tacks for a more removable option, but where’s the fun in that?
As the lovely folks at The Painted Hive pointed out, the great thing about using curtain panels is that they’re already hemmed, so no additional sewing is required. And with a little bit of pleating and folding, I was able to create a beautifully tailored look that would rival even the most expensive store-bought bed skirts.
Bringing it All Together
Now, I know what you’re thinking – what about washing? Well, I’ll admit, this method might not be the most practical for those who like to keep their bed skirts squeaky clean on the regular. But for my purposes, it was perfect. After all, I was staging this space to sell, not move into myself.
And let’s be honest, most upholstered furniture pieces don’t exactly have removable fabric covers, so why should your bed skirt be any different? Besides, if you’re ever in a pinch and need to remove the skirt, a few quick snips of the staples should do the trick.
So, whether you’re a seasoned DIYer or a total novice, I can’t recommend this sew-free stapled panel method enough. It’s quick, it’s easy, and it’s the perfect way to add a touch of custom, high-end style to your bedroom without breaking the bank. And who knows, maybe it’ll even inspire you to tackle some other no-sew projects around the house. After all, Home Curtains Philadelphia has plenty of other ways to spruce up your space without a needle and thread.
The Finishing Touches
With the bed skirt in place, the final touches came together in no time. I layered on some luxurious bedding, added a few throw pillows for good measure, and voila – a bedroom fit for the pages of a magazine. And the best part? It all came together in a matter of hours, with minimal effort and a fraction of the cost of a traditional bed skirt.
So, if you’re tired of settling for lackluster, cookie-cutter bedding solutions, why not try your hand at this sew-free stapled panel method? It’s a foolproof way to add a touch of custom, high-end style to your space, and trust me, your guests will be none the wiser. Happy DIYing, my friends!


