The Eternal Struggle for Darkness
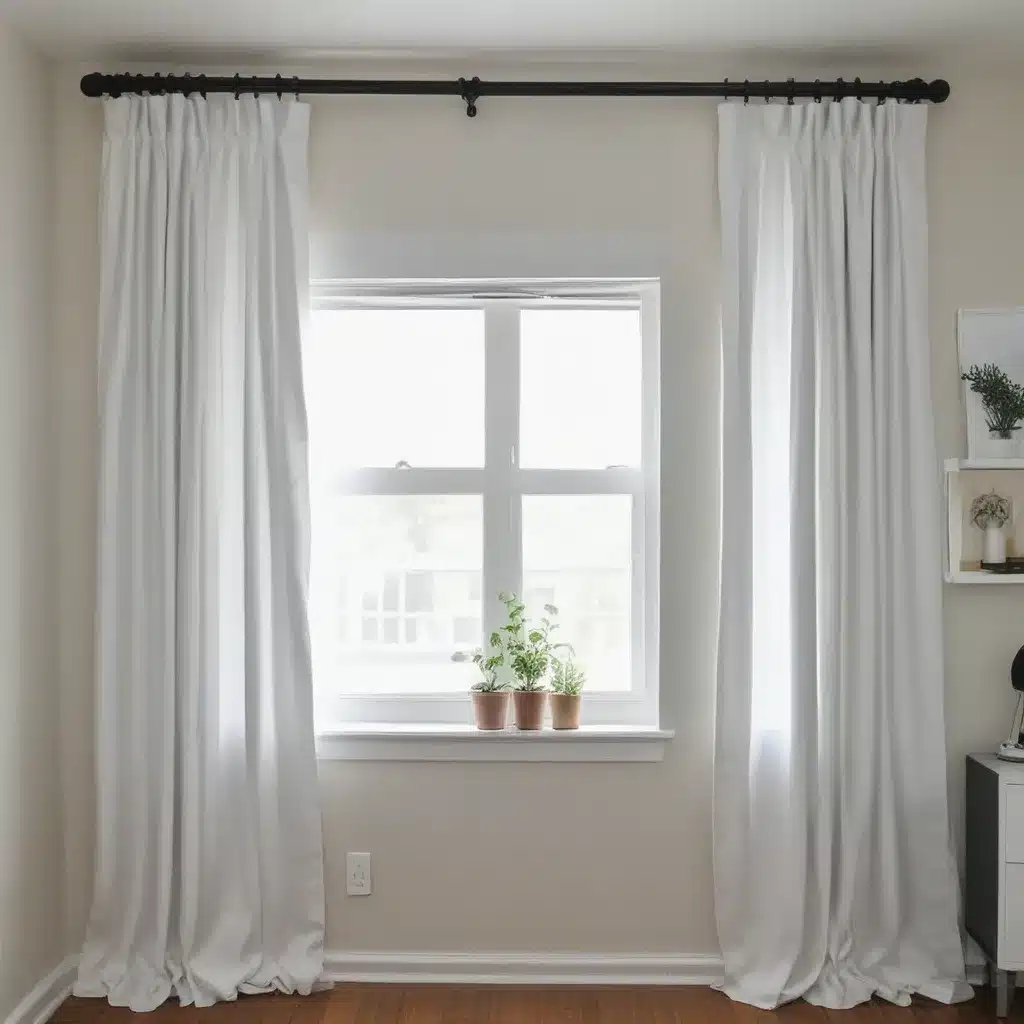
I’m one of those people who absolutely needs pitch black darkness to sleep. In fact, I go so far as to put electrical tape on any appliance lights that might be in the bedroom. The effect a dark room has on my own sleep is pretty amazing, so my bedroom windows have always had blackout curtains. The only problem is, they tend to be fairly bland. I’ve tried to glam some of mine up, which you can see in my post Simple Charming Blackout Curtain Makeover.
Recently, I decided I wanted to do something different and looked into inserts that were removable. After some brainstorming and searching online, I came up with the idea for these DIY no-sew blackout curtains. They’re quick, easy, and best of all, won’t break the bank. If you’re someone who, like me, needs total darkness to sleep, then this project might be just what you need.
Gathering Your Supplies
To make these no-sew blackout curtains, you’ll need a few simple supplies:
- Blackout curtain liner or other blackout material (I used a ready-made curtain liner from the hardware store)
- Velcro or Command Strips
- Scissors
- Measuring tape
The great thing about this project is that you can use pretty much any blackout material you can get your hands on. As I mentioned in my previous post, just make sure the curtain or material you use is true blackout, not just room-darkening. Many products claim to be blackout but don’t actually block out all light.
Measuring and Cutting
The first step is to measure the inside of your window frame to determine how large your blackout material needs to be. If you decide to sew or hem the edges, be sure to account for that in your measurements.
Once you have your measurements, go ahead and cut the material to size. I chose not to hem the edges, but you can certainly do so for a more finished look if you prefer.
Attaching the Velcro or Command Strips
Now comes the fun part – putting it all together! I initially used sticky-back Velcro to attach my blackout insert, but I quickly learned that it can pull off paint when you remove it. Instead, I suggest using Command Strips – they’re meant to bear weight and come off easily without damaging your walls.
Measure and cut your Velcro or Command Strips to size, then attach them to the window frame and the back of your blackout material. Make sure it’s nice and snug against the window for maximum light-blocking.
Finishing Touches
And that’s it! Your DIY no-sew blackout curtains are ready to go. I didn’t bother ironing my material before starting, so excuse the wrinkles. But you can certainly give it a quick once-over with an iron if you want a super crisp, smooth look.
These inserts are perfect for renters or anyone who wants a quick, easy, and affordable way to block out light. They’re also great if you want to be able to easily remove the blackout coverage during the day. Simply pull the insert down or take it off entirely in seconds.
Sleeping in Total Darkness
As I mentioned, I’m a die-hard blackout curtain enthusiast. The difference in my sleep quality when I have total darkness is nothing short of amazing. And these DIY no-sew curtains have been a game-changer.
If you’re in the market for some new window treatments and want to achieve that perfect, pitch-black sleeping environment, I highly recommend giving this project a try. It’s budget-friendly, customizable, and takes just a few minutes to put together. Plus, you’ll be able to enjoy the benefits of deep, uninterrupted sleep every night.
And who knows, maybe you’ll even get so inspired that you’ll start a whole home curtain makeover like I did! Happy sleeping, friends.


