Introduction: Sewing Up Style for Your Space
I’m just going to come right out and say it – my sewing skills are, well, less than stellar. But that didn’t stop me from tackling a custom curtain project for my home that turned out beautifully. And you know what? If I can do it, so can you!
When it came time to dress the windows in our new Farmhouse-inspired master bedroom, I knew I wanted something special. No generic, off-the-shelf curtains for this space. Nope, I was determined to create my own custom lined curtains that would perfectly complement the style I had in mind. With a little help from my sewing guru of a mom, I was able to sew up a set of luxurious, blackout-lined curtain panels that look like they belong in the pages of a design magazine.
Home Curtains Philadelphia has some amazing custom options, but I’ll admit – the price tag had me a little hesitant. That’s when I decided to take matters into my own hands (or should I say, my sewing machine) and create my own dream draperies. And let me tell you, it was so worth the effort! Not only did I end up with curtains that were perfectly tailored to my space, but I also saved a bundle compared to buying custom.
Gather Your Supplies
Before we dive into the step-by-step tutorial, let’s make sure you have everything you need to get started. You’ll want to round up the following materials:
- The perfect curtain fabric (I found mine at Tonic Living)
- Blackout fabric or lining of your choosing (again, I used Tonic Living)
- Ribbon, grommets, or curtain rings for hanging
Now, let’s talk about how much fabric you’ll need. I based my calculations on wanting each finished curtain panel to be 77 inches long. To get that length, I added 10 inches to my desired finished measurement to account for the hems and seam allowances.
As for the width, I simply used the full width of the curtain fabric, which was plenty to cover my window. But if your windows are wider, you may need to piece together multiple widths of fabric.
For the lining, I cut each piece 2 inches narrower and 4 inches shorter than the curtain panels. This allows the lining to hang freely inside the curtain without adding any bulk to the sides.
Sewing Up Your Curtain Panels
Okay, are you ready to get sewing? Let’s do this!
Step 1: Hem the Curtain Fabric
With your curtain fabric right side down, fold the bottom edge up 4 inches and press. Then, fold it up another 4 inches and press again to create a nice, clean hem. Run a quick stitch about 1/4 inch in from the top of the fold to secure the hem in place.
Step 2: Hem the Lining
Repeat the same hemming process with the lining fabric, but this time, fold the bottom edge up 2 inches, press, then fold it up another 2 inches and press again. Stitch the hem in place, staying about 1/4 inch from the top edge.
Step 3: Attach the Lining
Lay your curtain fabric right side up, then place the lining fabric on top, right side down. Match up one side and pin it in place, then sew a 1/4 inch seam. Do your best to match up the other side, bunching the curtain fabric underneath as needed, then pin and sew.
Step 4: Finish the Corners
To create a professional-looking miter at the bottom corners, simply tuck the corner of the curtain fabric under and sew a quick stitch to secure it in place. You can get fancy with a blind stitch if you want, but a regular straight stitch works just fine.
Step 5: Top it Off
Fold the top edge of the curtain panel down 1 inch, press, then fold it down another inch and press again. Stitch about 1/4 inch from the edge to create a pocket for your curtain rod.
And voila! Your custom lined curtains are ready to hang. You can choose to add grommets, back tabs, or simply clip them onto some curtain rings – whatever suits your style best.
The Finished Product
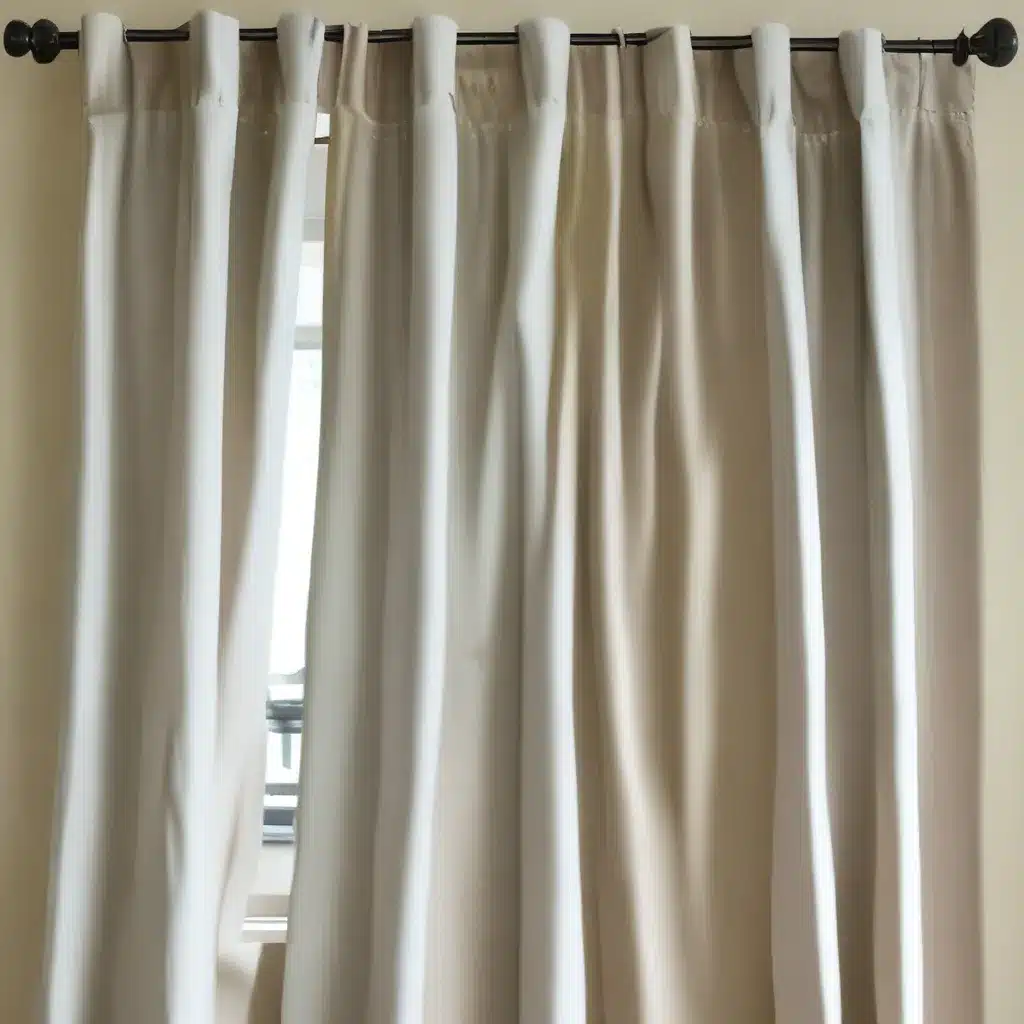
Stepping back and admiring my new custom curtains, I have to say, I’m pretty darn proud of myself. Not only do they look absolutely stunning in our Farmhouse-inspired master bedroom, but I also saved a bundle compared to buying custom draperies.
The key is in the luxurious fabric and high-quality lining. By sewing my own panels, I was able to select the perfect colors and textures to complement the rest of the room’s decor. And the blackout lining? Game-changer. Those sunny mornings when I want to sleep in? No problem at all.
So if you’re feeling intimidated by the idea of sewing your own curtains, don’t be! With a little time, patience, and my easy-to-follow tutorial, you can create custom window treatments that will transform your space. Trust me, it’s so worth the effort.
Happy sewing, my friends! I can’t wait to see what you create.


