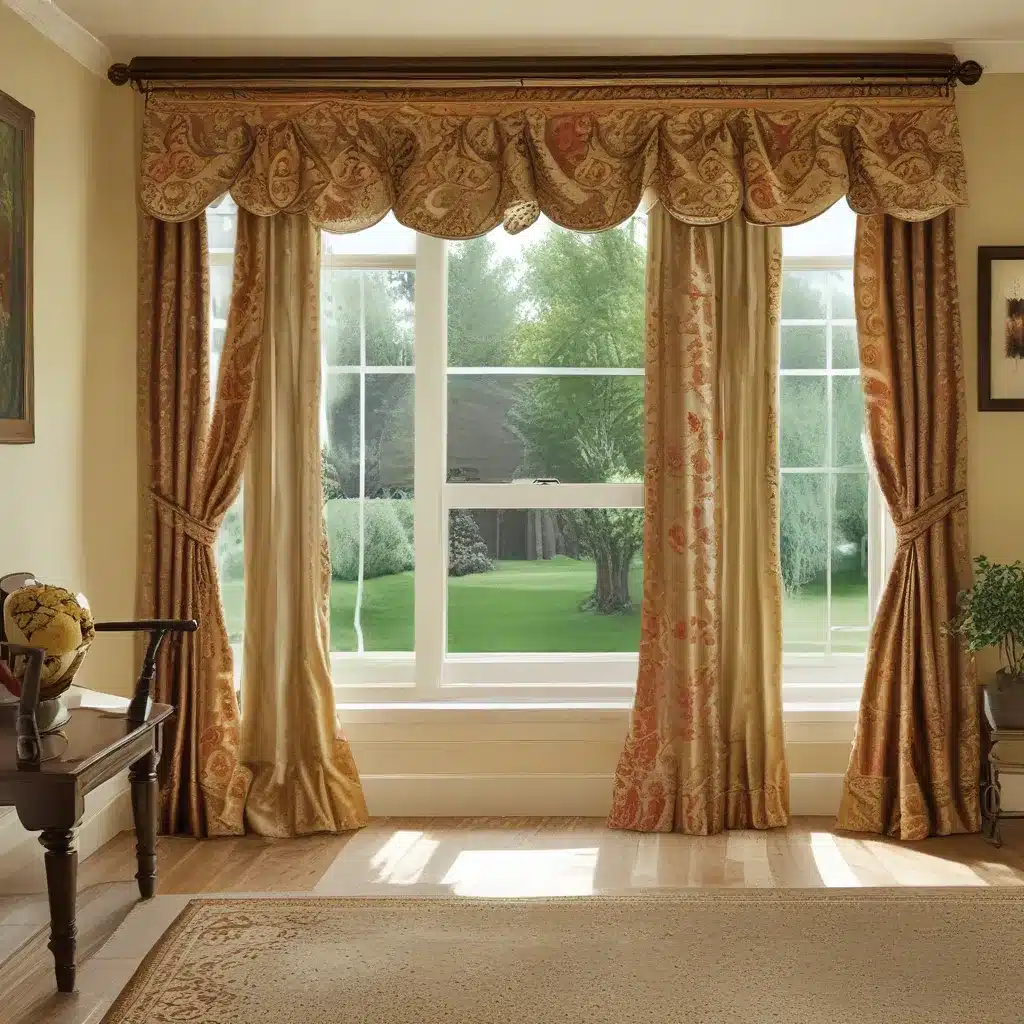
Frame Your View With Custom Window Valances
Alright, folks, let’s talk about one of the most underrated (and often overlooked) window treatments out there – box valances. I know, I know, it might not be the most glamorous topic, but trust me, these babies can transform your space in a way you never thought possible.
Recently, I found myself staring blankly at the naked windows in my new home, wondering, “What the heck do I do with you?” Sound familiar? If so, a box valance might be the perfect solution to your window woes. I remember asking myself that very question when we first moved into our house three years ago, and let me tell you, I’m so glad I found the answer.
Today, I’m going to share our guide to DIY box valances, and I have to say, it’s a game-changer. I’ve got box valances all over my house, and the transformation is nothing short of magical. From the kitchen:
To the family room:
And even the baby’s nursery:
My husband and I even made one for his parents’ condo. Talk about a versatile window treatment, am I right?
Measure, Measure, Measure
Alright, let’s dive in. The first step, which should be obvious, is to measure your windows. Our valances extend three inches beyond our windows on either side, so keep that in mind as you’re taking your measurements.
Next, you’ll need to purchase the wood for the “box” part of the box valances. We went with some generic plywood for the front surface and some generic 4″ strapping for the frame. Home Depot will even cut the wood to your specific measurements for free, which is a huge time-saver.
Constructing the Wooden Frame
Now, it’s time to put together the wooden frame. This step is as unique as the size of your box valance, but the general idea is to take the plywood section you’ve already had custom cut and outline it with the strapping boards. Screw the strapping boards together and attach them to the plywood with sheetrock screws.
Covering the Frame
Once the frame is assembled, it’s time to cover it in batting material. Spray the liquid adhesive (preferably outside) to all four sides of the wood that will face out, and then pat on the batting. Let it dry for 24 hours before moving on to the next step.
Sewing the Fabric
While the batting is drying, you can get your fabric ready. If your windows are wider than the standard 54″ home fabric, you’ll need to match the pattern on either side. This just takes a careful eye and precise pinning. It’s also handy to iron in the seam where you’ll be sewing, then trace that line with a pencil (on the underside of the fabric) to help provide a guide.
To give the fabric a finished look and prevent the bumpy texture of the batting from showing through, line the back with an inexpensive muslin.
Stapling the Fabric
Alright, the fun part! Once your fabric is sewn and your box valance frames are dry, it’s time to start stapling. Line the fabric/muslin seam up to the inside top of your frame and make sure the pattern falls correctly. Then, staple away! We wanted our sides to not show a fold, so we put the fold on top and stapled accordingly.
Hanging Your Masterpiece
The final step is to hang your box valance. We used L-brackets, measured, and leveled to make sure they were just right, then put them in place. And voila, you’re done!
I have to say, I’m pretty darn proud of the way our box valances turned out. They add such a cozy, custom touch to every room, and they’re surprisingly easy to make. If you’re looking to elevate your space and frame your view with custom window treatments, I highly recommend giving box valances a try.
The Versatility of Box Valances
One of the best things about box valances is their versatility. They work just as well in a traditional, formal space as they do in a more casual, contemporary setting. And the best part? You can tailor them to your specific style and needs.
For example, if you’re going for a more modern look, you can opt for a sleek, minimalist design with clean lines and a neutral palette. Or if you’re feeling a bit more whimsical, you can experiment with bold patterns, vibrant colors, or even a playful, asymmetrical layout.
The possibilities are truly endless, and that’s what makes box valances such a fantastic choice for any window treatment enthusiast. Whether you’re looking to add a touch of elegance, a splash of personality, or simply a cozy, inviting atmosphere, these versatile window treatments are sure to do the trick.
A Personal Touch
But you know what I love most about box valances? The personal touch they add to a space. When I walk into a room with a custom box valance, I can’t help but feel a sense of pride and accomplishment. After all, these aren’t just generic, off-the-shelf window treatments – they’re a reflection of your unique style and creativity.
And let’s be real, there’s something incredibly satisfying about being able to say, “I made that.” It’s like a little piece of your heart and soul woven into the fabric of your home, and that’s a feeling that just can’t be replicated with a store-bought option.
So, if you’re ready to take your window treatments to the next level and frame your view with custom window valances, what are you waiting for? Grab your tools, your fabric, and your sense of adventure, and let’s get to work!


