Measure Twice, Hang Once
Let’s be real – hanging curtains can feel like a daunting task, even for the most seasoned DIYer. But I’m here to let you in on a few secrets that will have you hanging curtains like a pro in no time. As someone who’s tackled this project in my own home, I know firsthand the struggles of getting the perfect fit and that elusive high-end look.
The key to success? Accurate measurements and smart planning. Now, I know what you’re thinking – “Ugh, math.” But trust me, a little bit of number crunching upfront will save you a whole lot of headaches down the line. Start by measuring the width of your window, then add at least 10 inches on each side. This extra width will make your windows appear larger and create that luxurious, full look when the curtains are closed.
When it comes to length, you’ll want your curtains to graze the floor – no shorter, no longer. Measure from the floor up to where your curtain rod will be installed, usually just below the ceiling or crown molding. Pro tip: use adjustable drapery hooks to fine-tune the length after hanging. These handy little gadgets are a total game-changer!
Home Curtains Philadelphia has some amazing options that make this whole process a breeze. Their custom curtains come in a variety of sizes, fabrics, and header styles to suit any space. And with detailed measuring guides, you’ll be a curtain-hanging expert in no time.
Hang High, Hang Wide
Now that you’ve got your measurements locked in, it’s time to talk rod placement. Here’s the secret to creating the illusion of taller, wider windows: hang that sucker as high and wide as possible. I’m talking just a few inches below the ceiling, with the rod extending at least 10 inches past the window frame on each side.
This simple trick draws the eye upward, making your ceilings feel loftier and your windows look larger. It’s like optical illusion magic, but without any of those silly top hats or smoke and mirrors. Just pure design genius.
Of course, you’ll want to make sure you have the proper hardware to support all that extra width. Drywall anchors are your best friend here, as they’ll ensure your curtain rod stays firmly in place, no matter how heavy your curtains may be. And don’t be afraid to add an extra bracket or two for extra stability – your curtains will thank you.
Pleats, Please
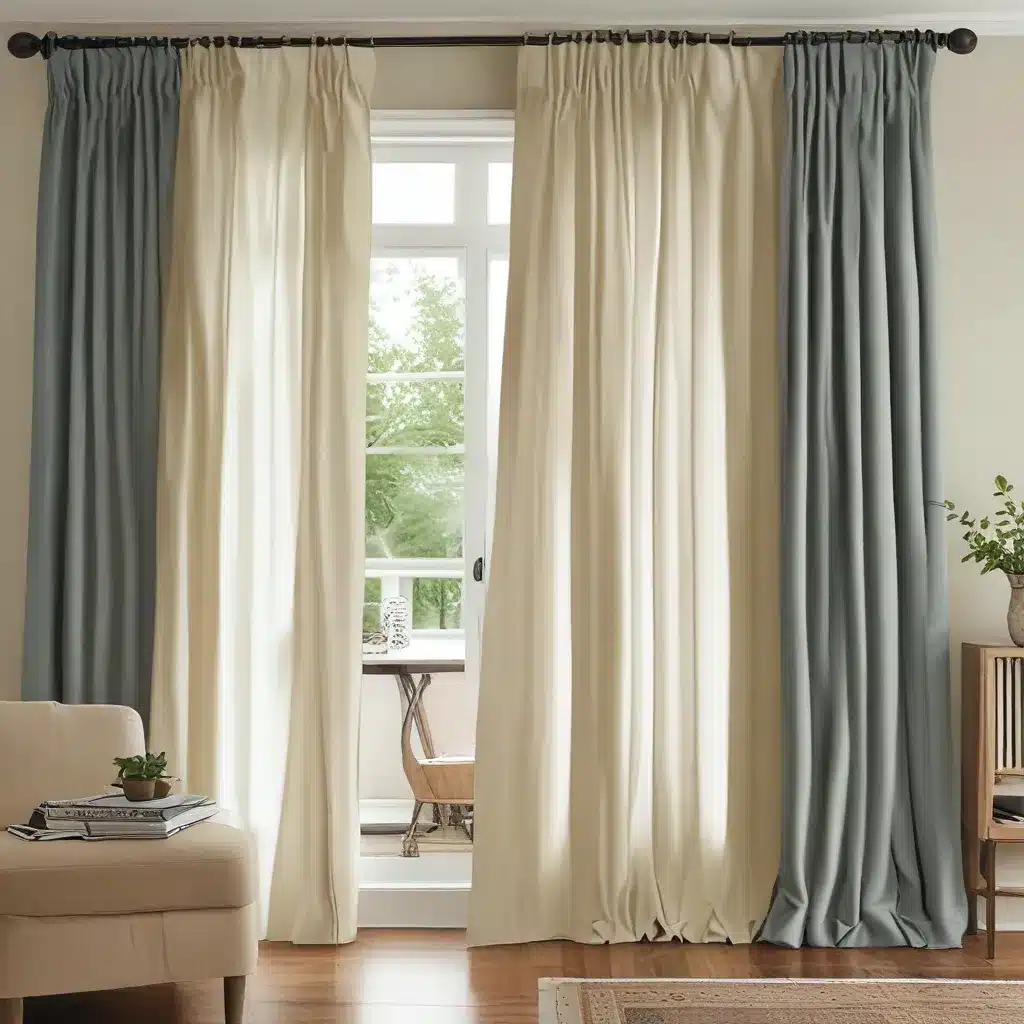
Now for the fun part – choosing your curtain style! While there are tons of options out there, I’m a firm believer in the power of pleats. Not only do they add a touch of elegance, but the extra fabric also creates that lush, luxurious look we’re going for.
Jenna Sue Design has a great breakdown of the different pleat styles, but my personal favorite is the classic pinch pleat. These beauties have a tailored, high-end feel that instantly elevates any space.
The best part? You don’t have to break the bank to get this designer look. I recently discovered these amazing pinch pleat curtains on Amazon that rival the custom options at a fraction of the cost. With a lush linen-like texture and tons of color choices, they’re the perfect way to add some wow-factor to your windows.
Let’s Get Hung(ry)
Alright, now that you’ve got the measurements and styling all figured out, it’s time to get those curtains up on the wall. This is where things can get a little tricky, but I’ve got your back.
First and foremost, make sure you’ve got a sturdy curtain rod that can handle the weight of your fancy new drapes. 136 Home has some great tips on choosing the right hardware, from diameter to bracket placement.
Once your rod is securely in place, it’s time to hang those panels. Start by attaching the curtain rings or clips, then gently lift the whole assembly into place. Remember to keep those pleats facing the right way – you want the fullness to be on the outside for maximum drama.
And don’t be afraid to enlist a friend or family member for this part. Curtains can be heavy, especially if you went all-out with that extra width. An extra set of hands will make the process a breeze (and keep you from accidentally bonking yourself on the head with a rogue curtain panel).
The Big Reveal
Alright, the moment of truth has arrived! Step back, take a deep breath, and admire your handiwork. Those windows look absolutely stunning, don’t they? With the perfect fit, impeccable pleats, and that luxe, high-end vibe, you’re giving even the finest interior designers a run for their money.
Trust me, your friends and family are going to be begging for your curtain-hanging secrets. And hey, feel free to send them my way – I’m always happy to share the wealth of knowledge. After all, Love Your Abode says that a little bit of curtain know-how can go a long way.
So, what are you waiting for? Grab your measuring tape, bust out those power tools, and let’s get to work transforming those windows into the showstoppers they were always meant to be. With these affordable tricks in your arsenal, you’ll be hanging curtains like a total pro in no time.


